Night Photography
|
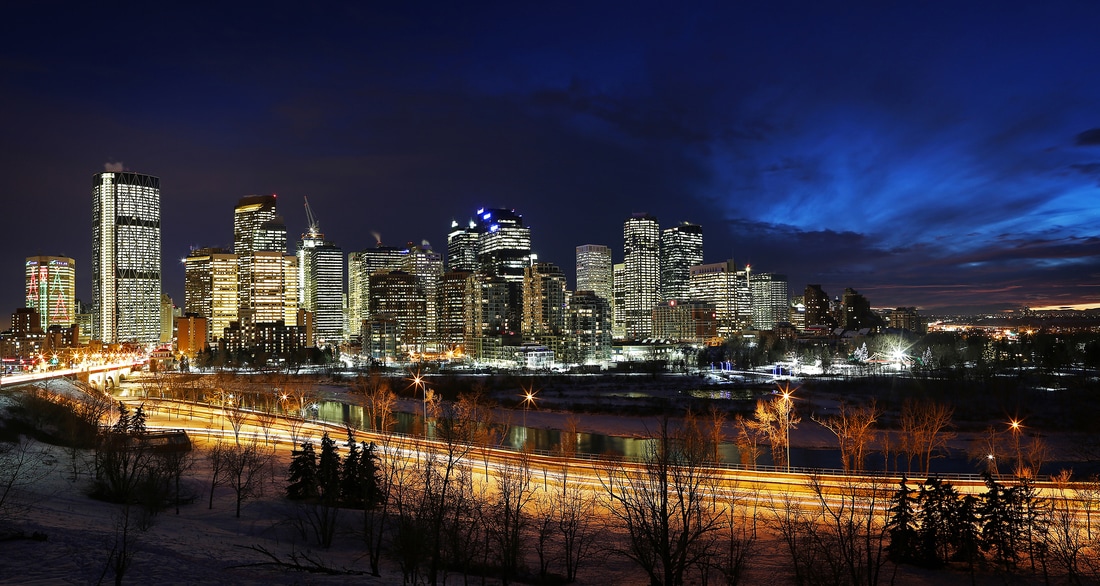
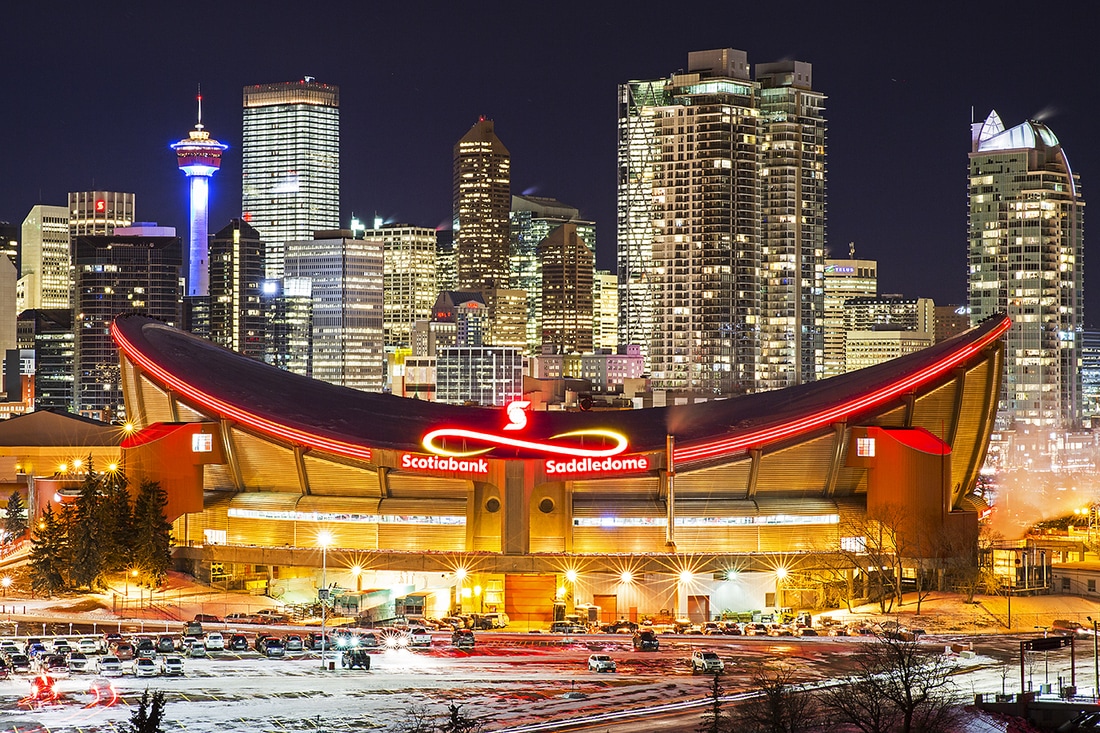
Modern cameras make night photography somewhat routine, but don't be fooled into thinking that just because it's shot at night it's a good shot. Images made at night need just as much thought on composition and content as any other and this can be quite challenging as the composition you see during daytime will change significantly at night, and vice versa. There are areas where night photography composition is quite straightforward, viewpoints for city skylines like this one overlooking Calgary Saddledome for example make for 'easy' compositions.
|

f/16, ISO 200, 30 sec
|
Equipment you will need for night photography:
You will need a camera that allows manual control and the knowledge to utilise those controls.
A tripod (or something you can rest your camera on that works with the composition)
A remote trigger or in camera timer.
You will need a camera that allows manual control and the knowledge to utilise those controls.
A tripod (or something you can rest your camera on that works with the composition)
A remote trigger or in camera timer.
You will be making long exposures in order to let sufficient light into the camera to capture the image you intended, so the tripod is vital to your success. You can use a wall to rest your camera on (if one is available) but how likely is it that a wall is going to be perfectly positioned to suit your composition?
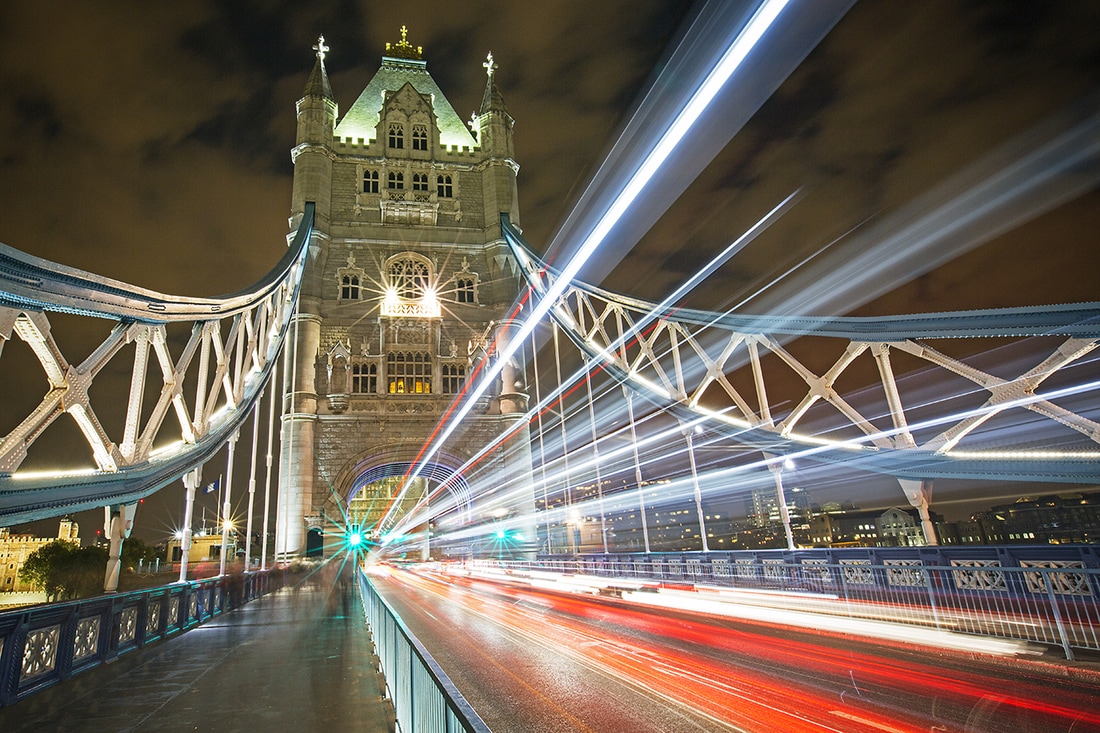
The remote trigger is always useful and should be part of any serious photographers kit, not only will it allow you to make images without any delay (which you will have with an in camera timer) but it will allow you to make one image directly after the previous one without a gap in time, this can really matter as this shot of Tower Bridge in the blue hour shows.
The remote trigger is always useful and should be part of any serious photographers kit, not only will it allow you to make images without any delay (which you will have with an in camera timer) but it will allow you to make one image directly after the previous one without a gap in time, this can really matter as this shot of Tower Bridge in the blue hour shows.
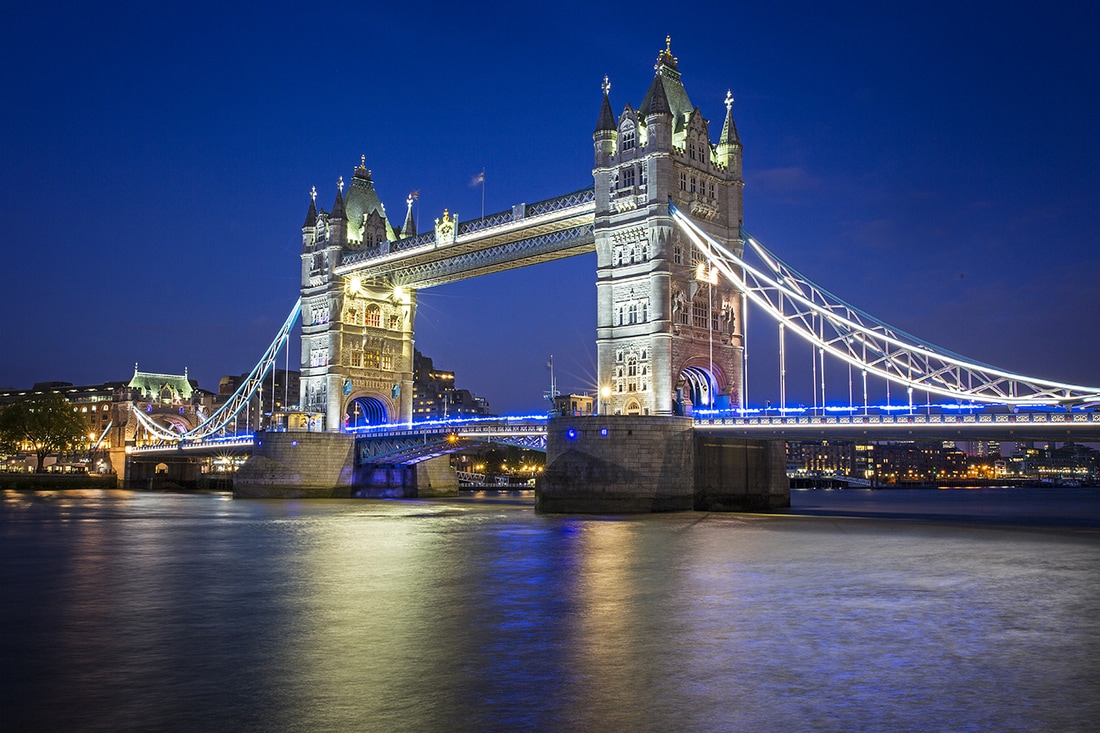
f/16, ISO 200, 10 sec.
|
As I was setting up and composing for some night shots of Tower Bridge I saw an ambulance heading into shot on the right. I hit the remote trigger and fired off a shot. The shutter was set for a 10 second exposure so with the ambulance halfway across the bridge the shutter closed. Because I was using a remote trigger and not the in camera timer, I was able to fire another shot immediately and capture another 10 second image that completed the crossing leaving me with a beautiful blue light streak across the bridge in the blue hour. I would have been sick if I had missed this due to not spending a few dollars on a remote, this remains one of my favourite shots from London.
|
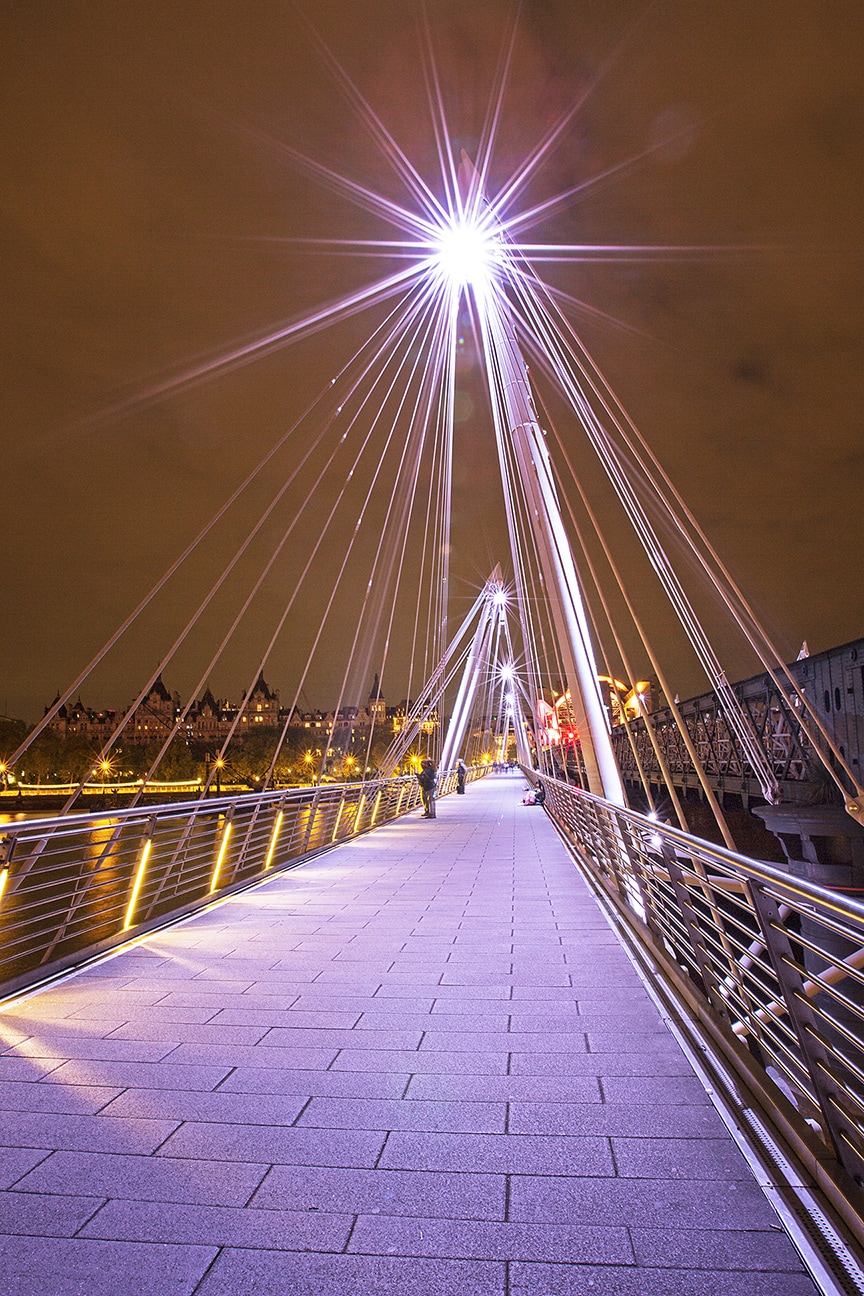
When it comes to settings I would begin around f/16 (to get those flares from static light sources) with as low an ISO as you can get away with (100 - 200) then set your shutter speed to get the correct exposure. You may well find that relying on the in camera 'exposure level indicator' will produce shots that are a little overexposed, personally I find you often get better results by underexposing by1 or even 2 stops. Finally, I would always shoot in RAW format to allow you to get the very best out of the final processed image rather than relying on the in camera processing.
|
Don't forget the fun you can have with moving lights at night, your long exposures will allow any moving light to become a light streak across your image. This can be as simple as a handheld torch or passing traffic, to your own light stick that you manoeuvre through a forest or manipulate to bring light streaks where you want them (as in this image I made at Upper Kananaskis Lake).
It's not the best image but it does show the technique. I'm still trying to find the perfect way to utilise a light stick to enhance an image, but that's the fun of photography, there's always a new shot to chase. |

f/3.5, ISO 100, 30 sec.
|
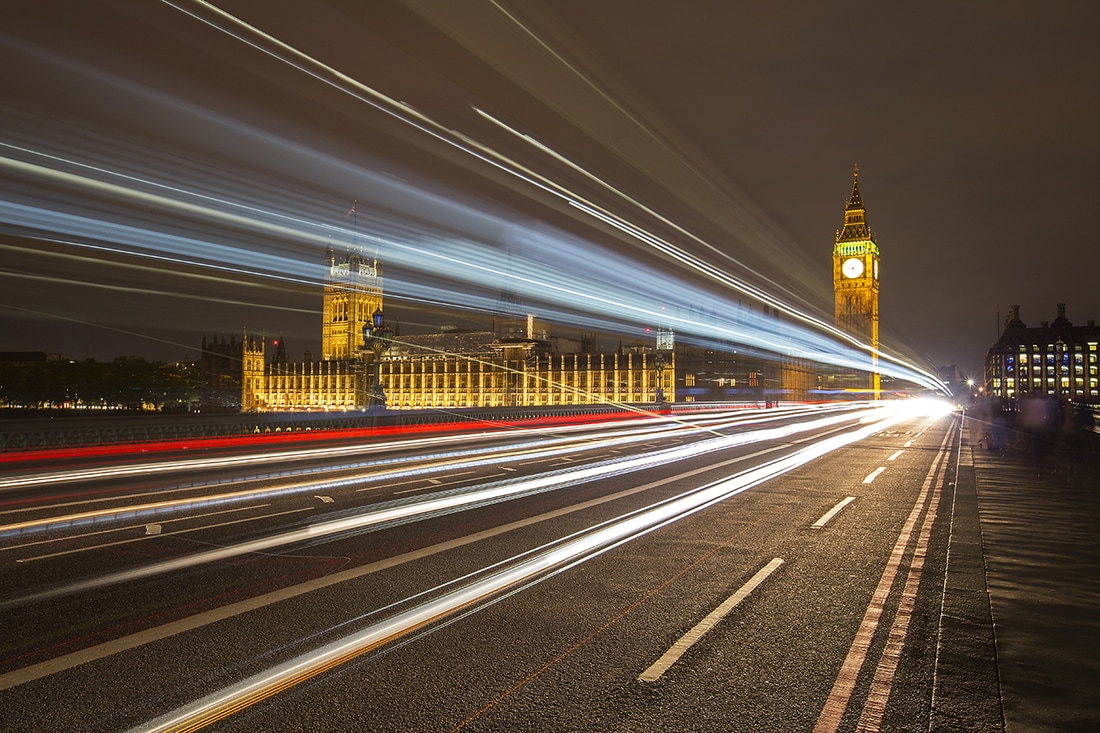
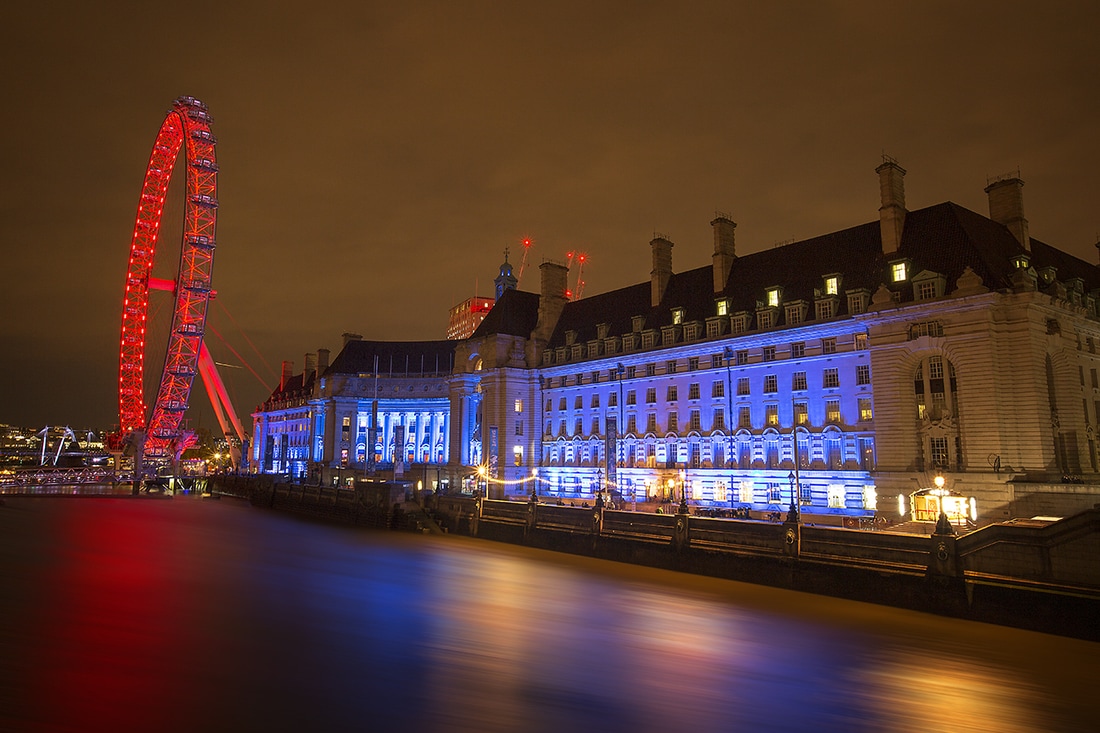
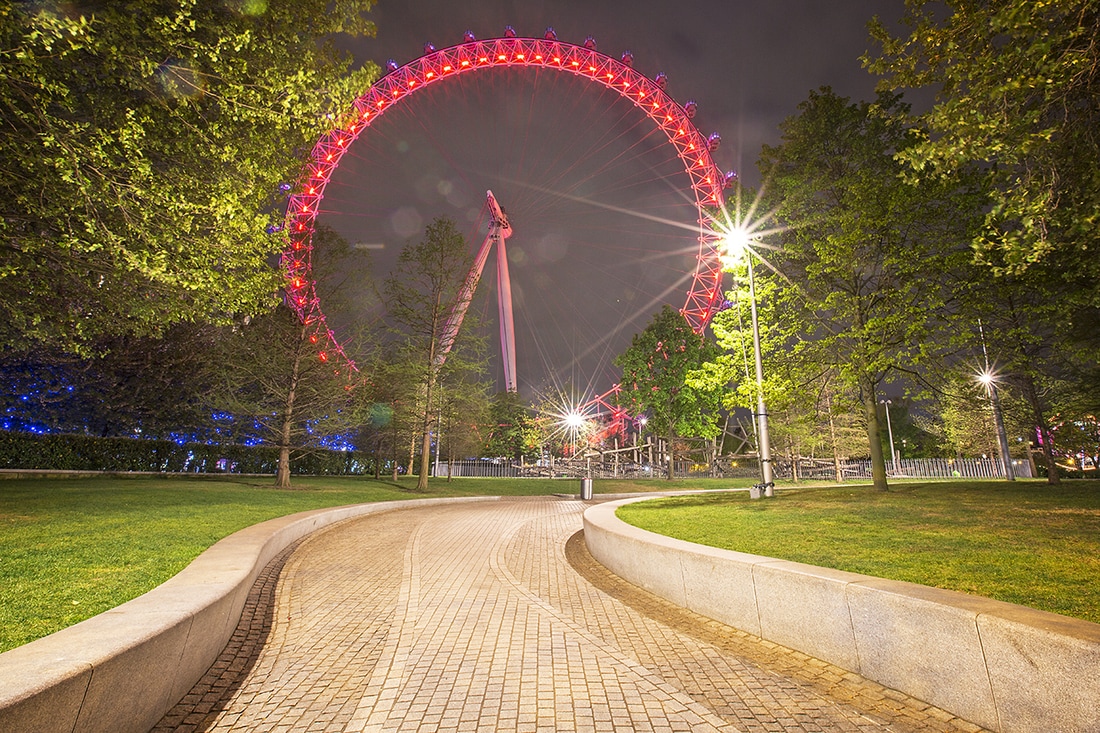
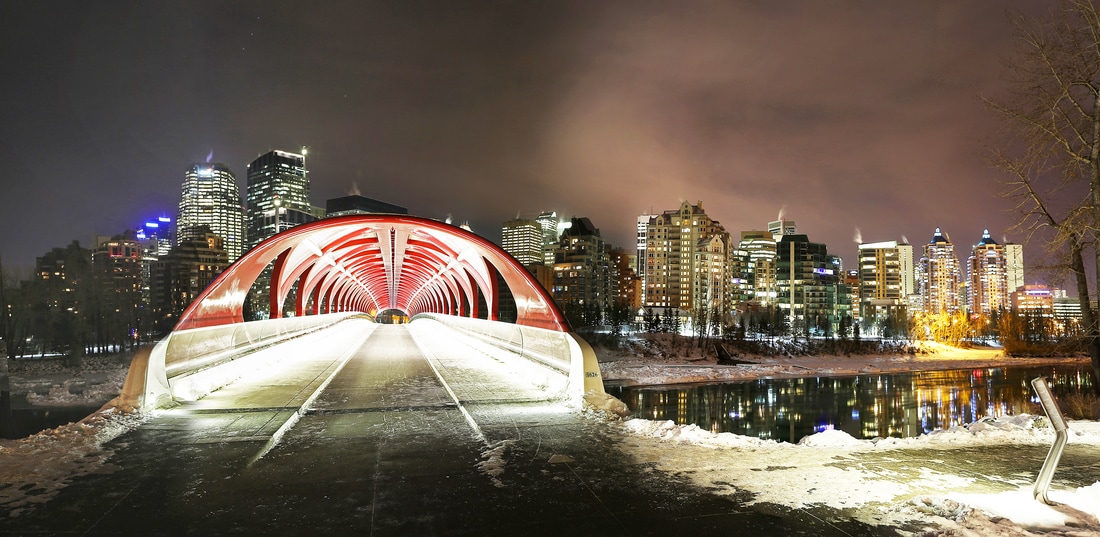
The gallery below shows a number of night shots with exposure details in captions below each one.