The Rule of Thirds
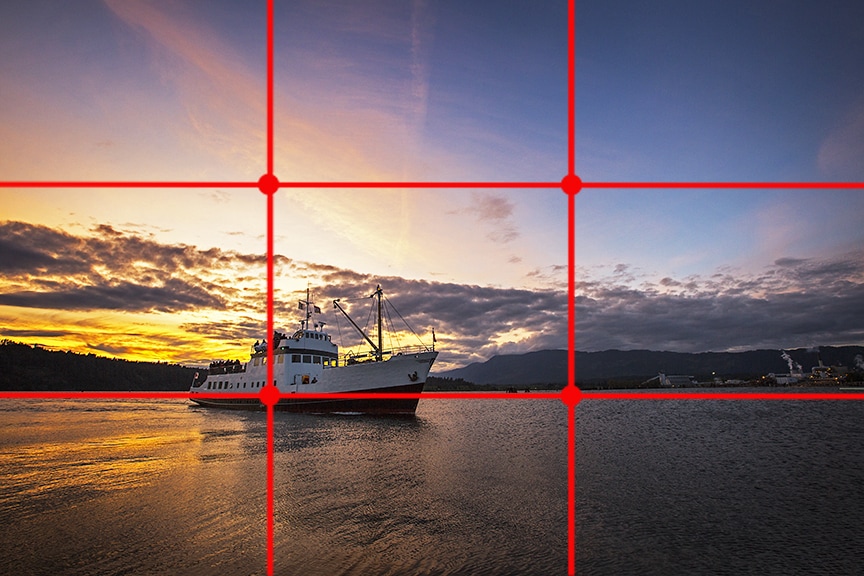
Probably the most common phrase in photography, 'the rule of thirds' will improve your images almost immediately. You simply imagine a grid that forms 9 equal size boxes (some cameras actually have this grid available to help you) By placing your horizon on either the upper or lower line you make the image more pleasing. Unless you are shooting a perfectly symmetrical image this guide is almost always the best place to begin. In the shot below the horizon is applied to the lower third.

|
|
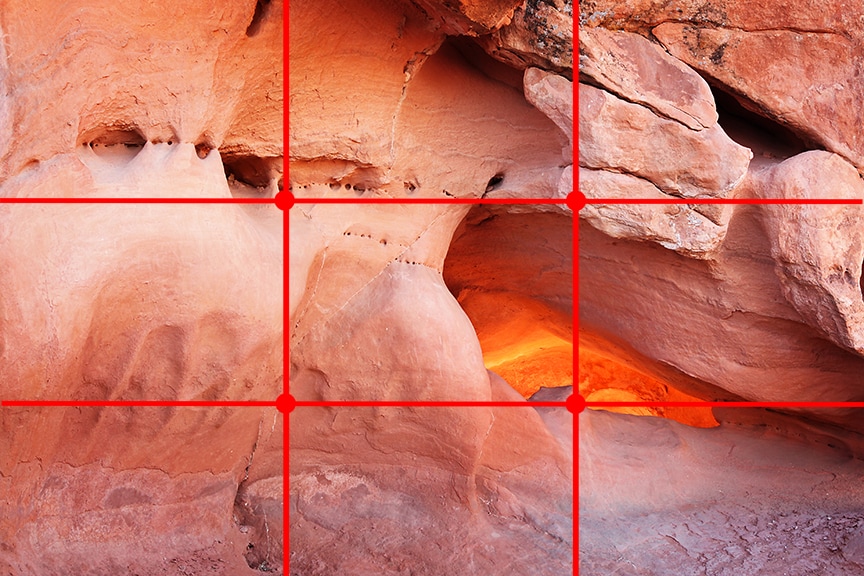
That is the first step in the application of 'the rule of thirds', the next step is to take note of the area where the lines intersect,one of these 'power points' is where you should aim to place your main topic, if you cover two points with your topic try make sure it is vertically or diagonally as this strengthens the image, horizontally will weaken your image in most cases.

|
|
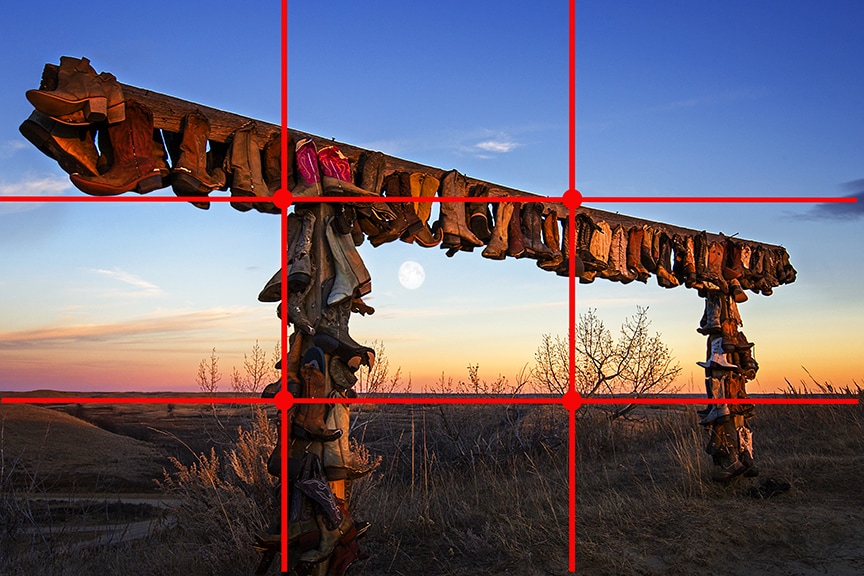
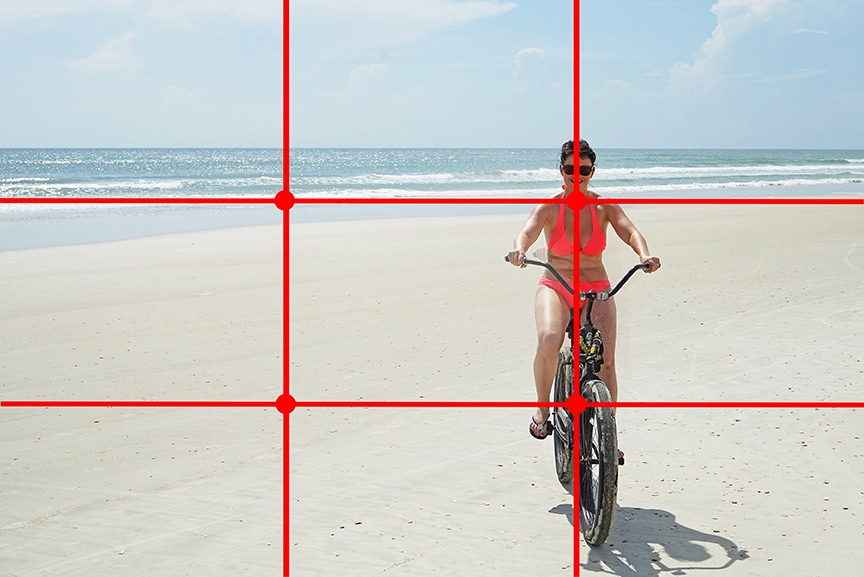
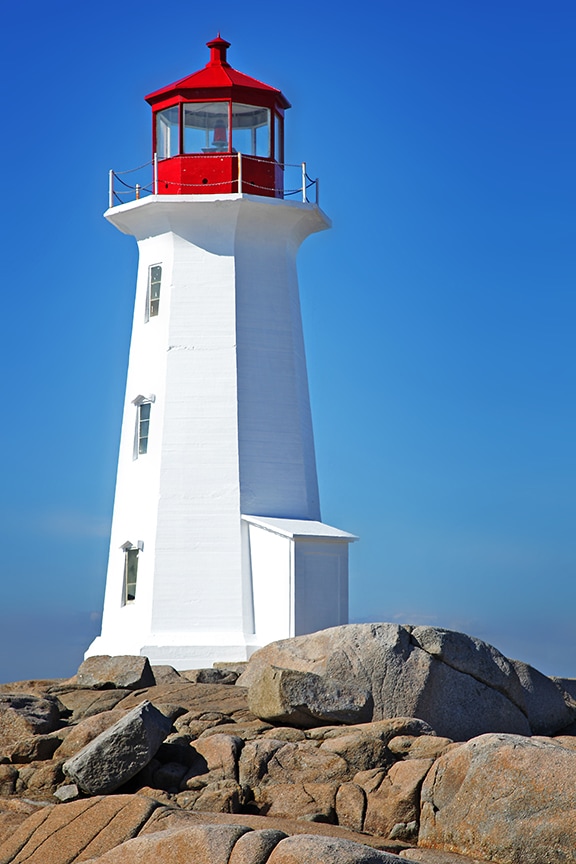
The gallery below shows a few more examples of 'the rule of thirds' with horizons on the upper or lower third and various 'power points' used to site the main topic.

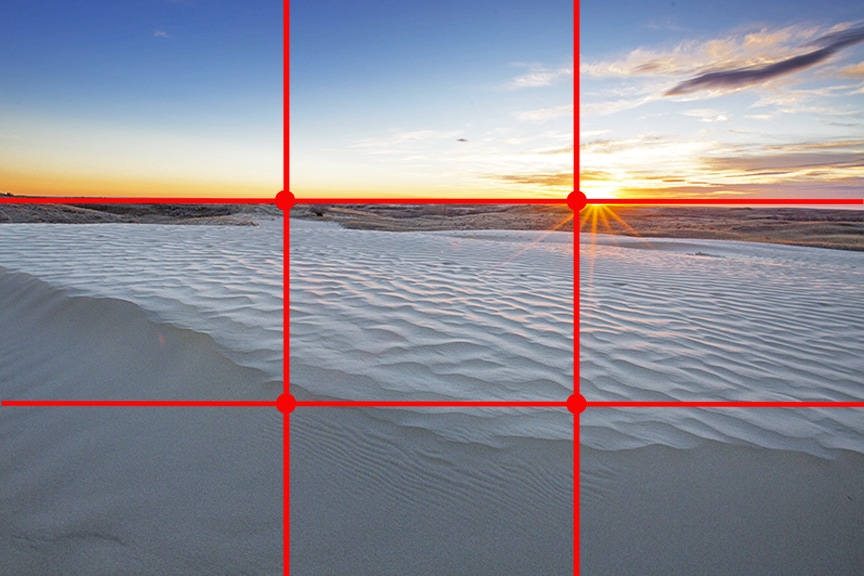


You can break the rule of thirds to bring additional drama to a scene, or to exaggerate the scale of one item simply by reducing the upper or lower horizon to less than the usual third. This action brings exaggerated scale to the part of the image you wish to draw attention to. You can see this effect in the gallery below.


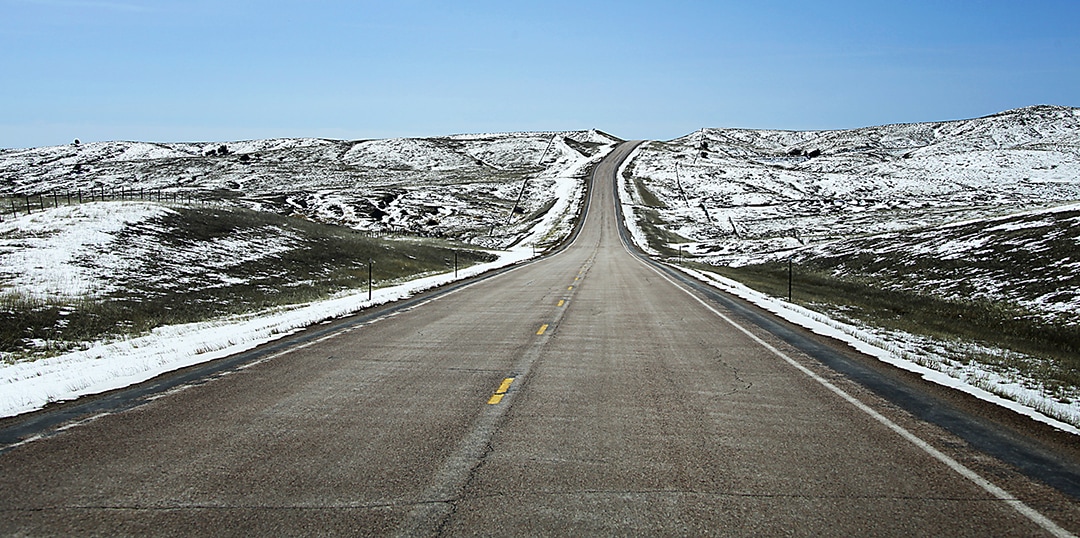

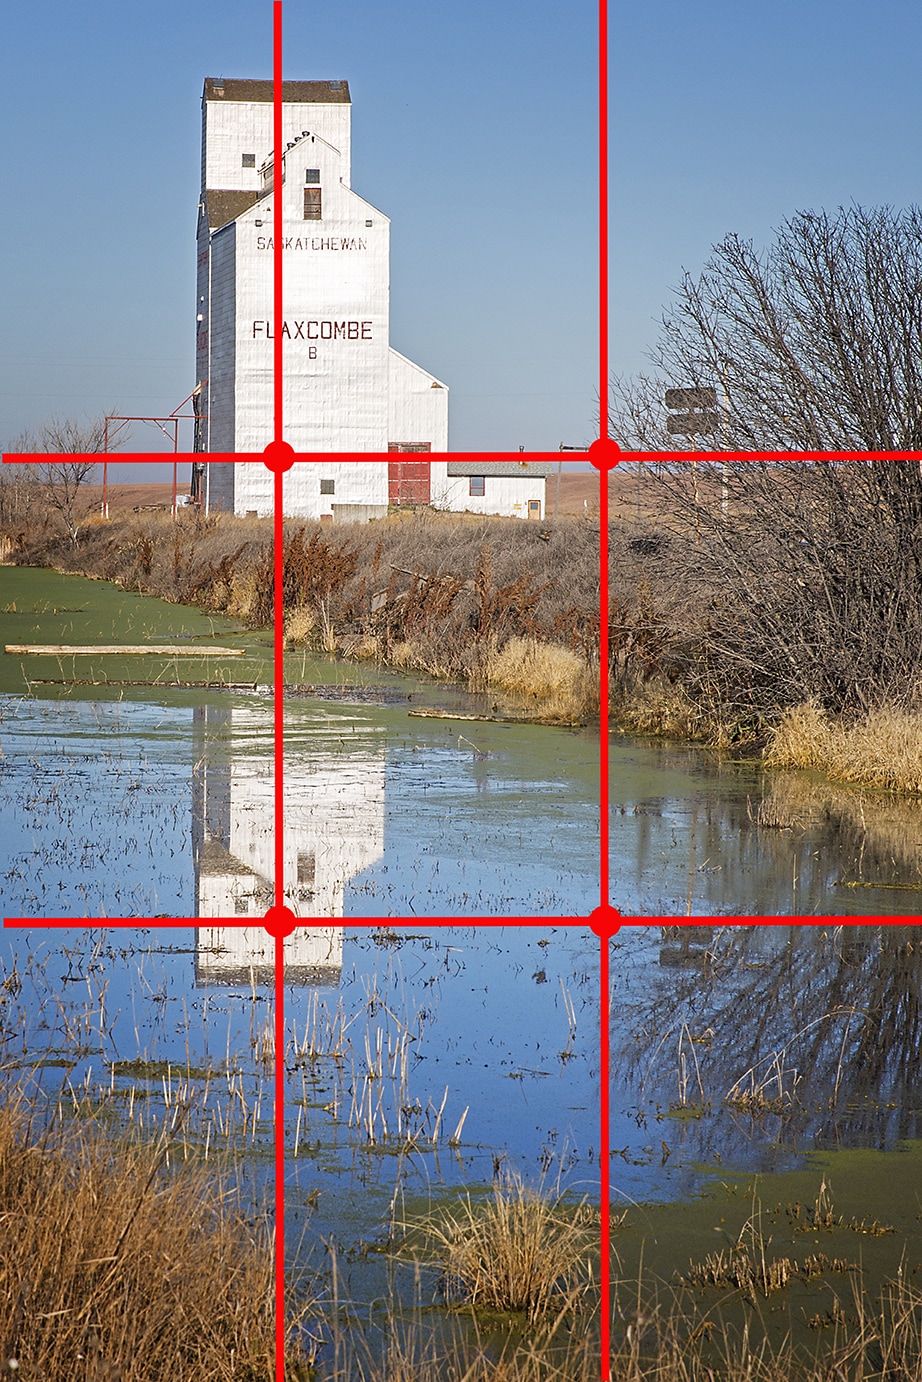
It's important to remember that your image doesn't have to have the common 'land to sky' or 'sea to sky' horizon for you to apply the rule of thirds, you should always consider it no matter what image you are making.

|
|