Shooting the Aurora
|
To see the aurora in the night sky is a truly incredible experience, and as a photographer, to capture it is a moment of magic that very often represents a milestone in understanding your equipment.
Modern cameras have made nighttime photography much more achievable than ever before. Fast lenses and clean images with high ISO's mean with just a little effort we can all make wonderful images after dark, of course you can't shoot the aurora if it's not there so lets start with that. You can find dozens of resources online to help identify when an aurora might reach your skies, north of the equator it's the aurora borealis (the northern lights) and south of the equator the aurora australis (southern lights). They are the same thing, charged particles from the sun collide with atoms in our atmosphere agitating the electrons inside, as those electrons revert to a less agitated state they release photons (light). |
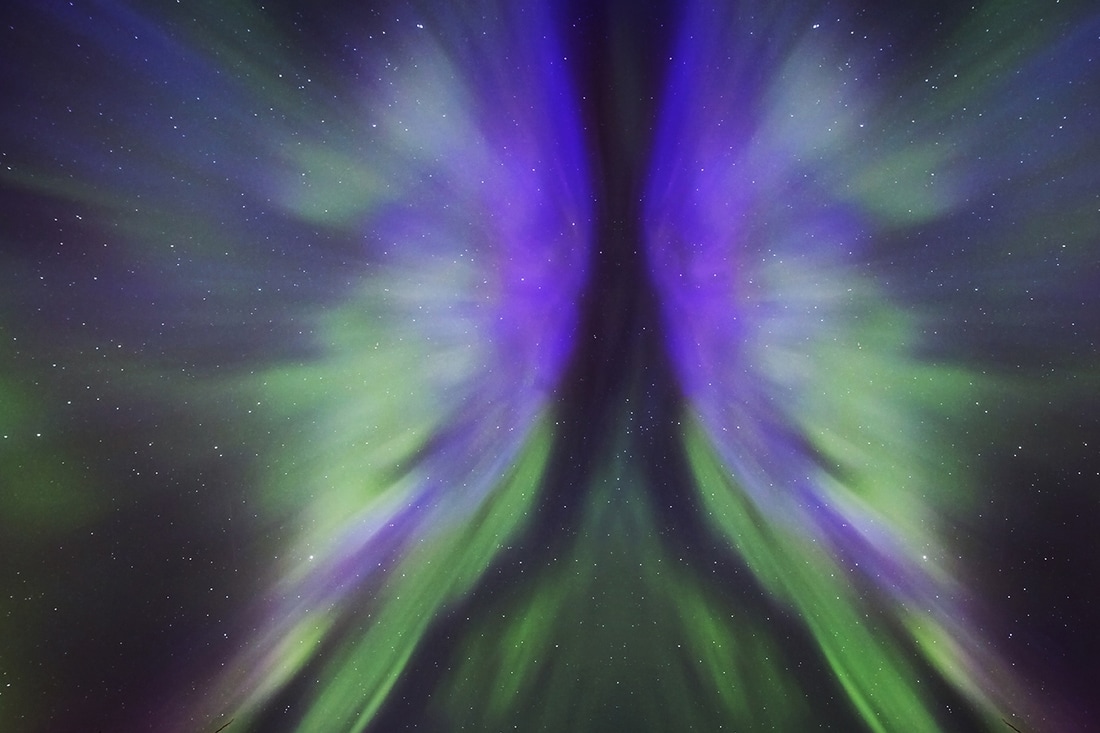
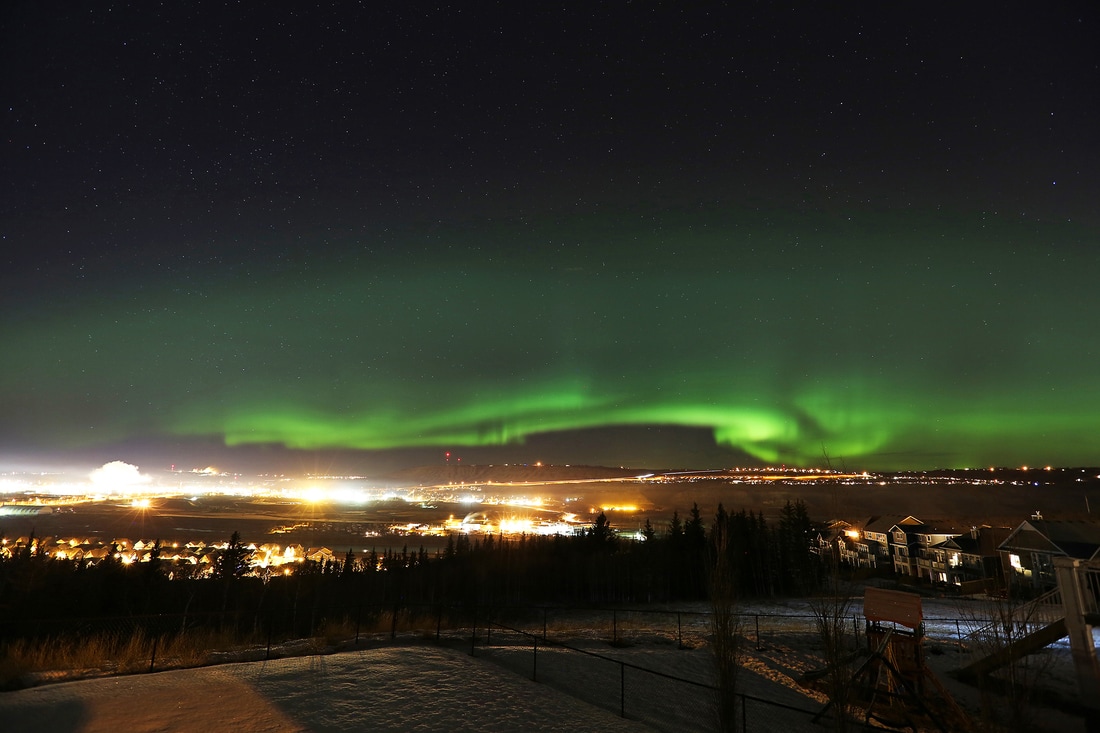
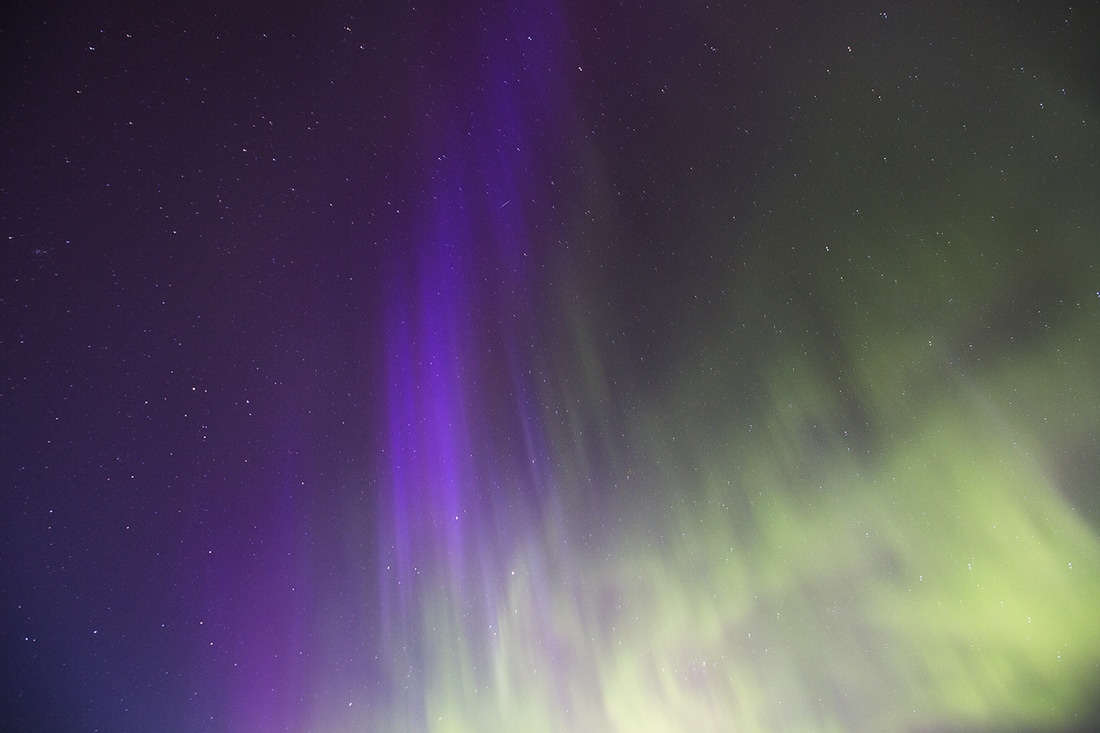
f2.8 - 10 Sec - ISO 1000
|
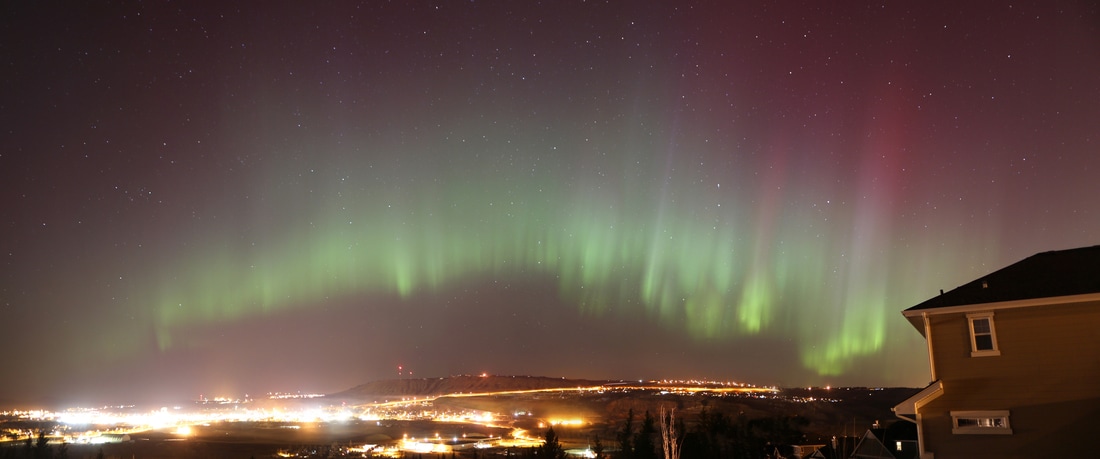
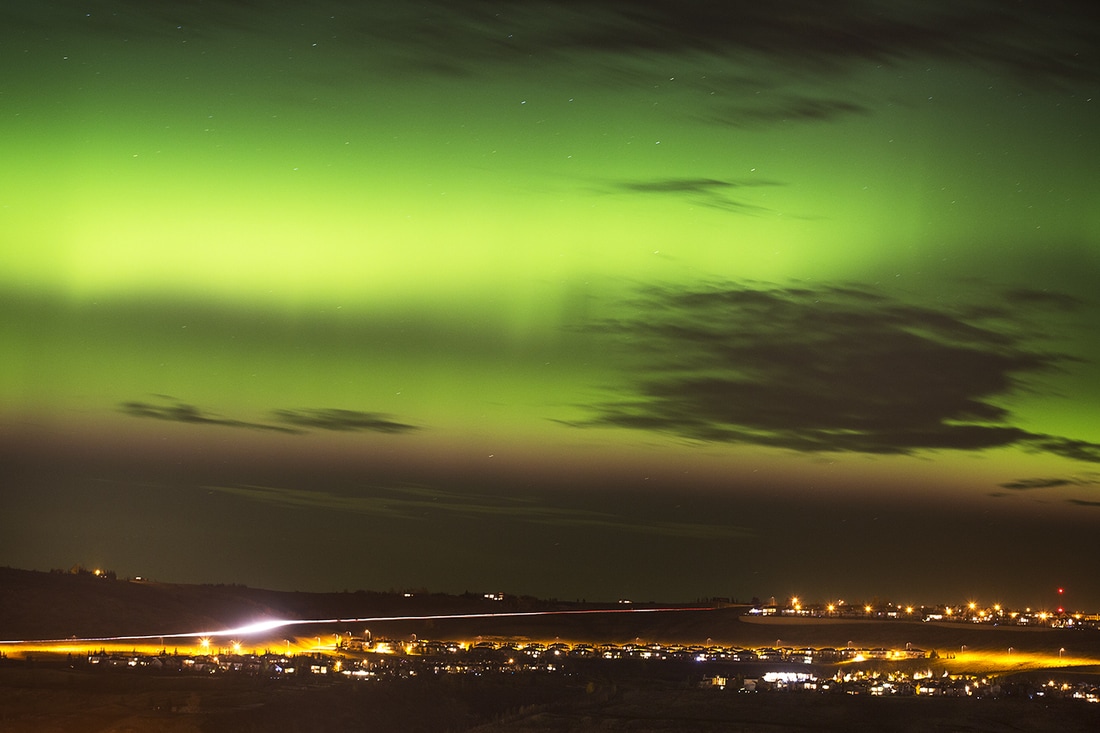
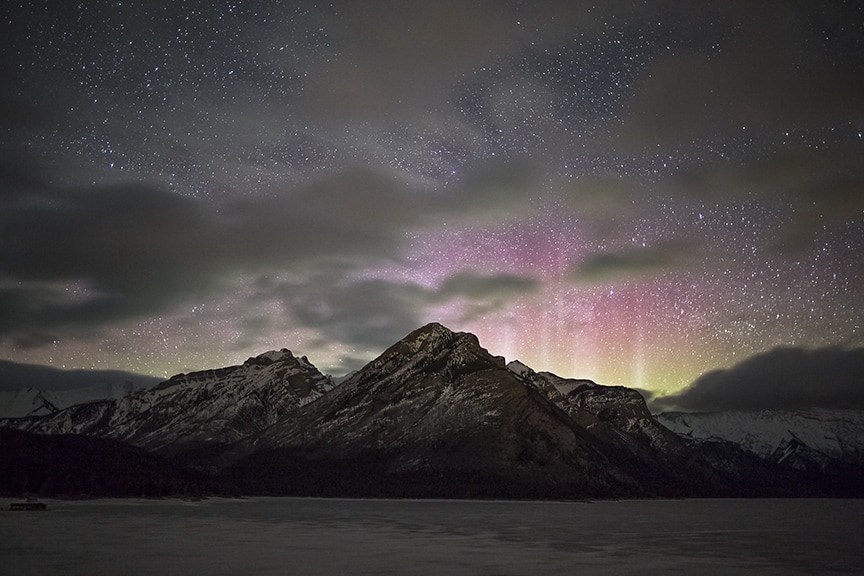
The colour of the light released is predominantly green but vivid blues and reds are also seen frequently. The colour comes from the differing gasses at differing altitudes. For example oxygen atoms above 200 km will glow red as a result of the interaction with solar output, but between 100km and 200km oxygen will produce the more familiar green colour. Between 100km and 200km Nitrogen will glow blue, but below 100km it will be a crimson shade.
Whatever the colour and whether borealis or australis, the technical side of shooting the aurora remains the same.
|
Photographic Gear Used: Canon 5DIII DSLR Camera Canon EF16-35mm f/2.8L II USM Lens Tripod Remote Trigger |
Camera Settings Used: Focal Length: 16mm Aperture: F/2.8 ISO: 1000 Shutter Speed: 10 seconds |
You can forgo the use of a tripod by setting your camera down on a wall or even the floor, but a tripod does make it much easier. If you don't have a remote trigger then I suggest you use the inbuilt timer (your camera will have one) so any movement made by pressing the shutter button has settled again before the image is made. The ISO is something you can change depending on circumstances, sometimes you need a faster shutter speed to capture the shapes the aurora is making so a high ISO will help you achieve that. Often the aurora will just be a glow rather than a dancing light display, when this is the case a lesser ISO and longer exposure will produce a shot will less noise. A reasonable starting point would be: focus to infinity, ISO 800, f2.8 15 seconds. Take a look at the shot on your review screen and ensure the focus is correct (zoom in and check star points) then make adjustments from there depending on the available light from the aurora and on the type of shot you are trying to make.
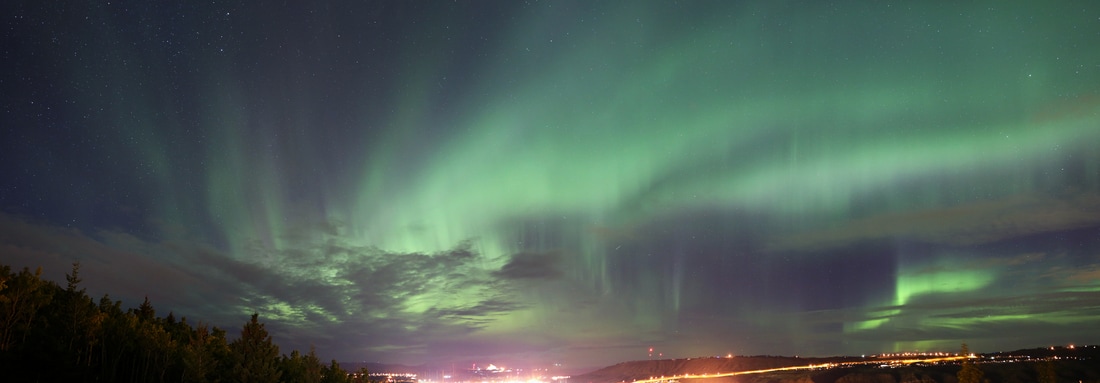
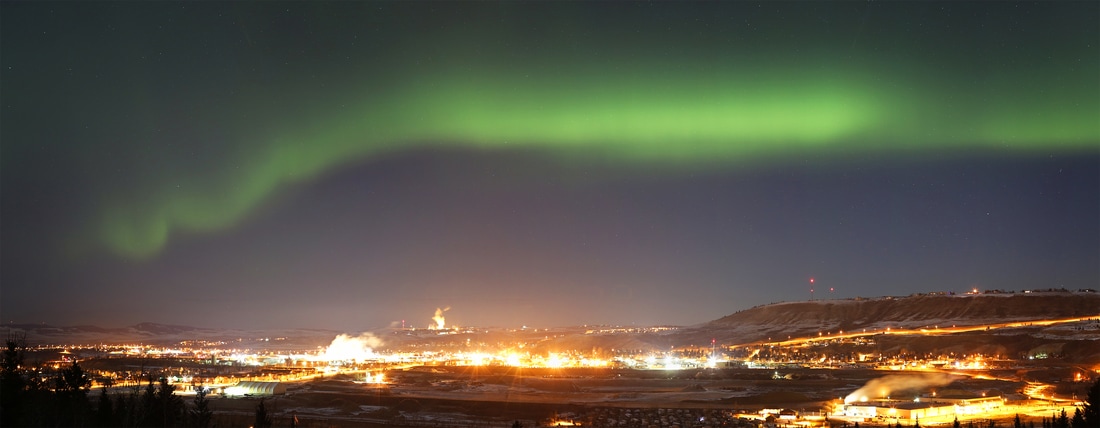
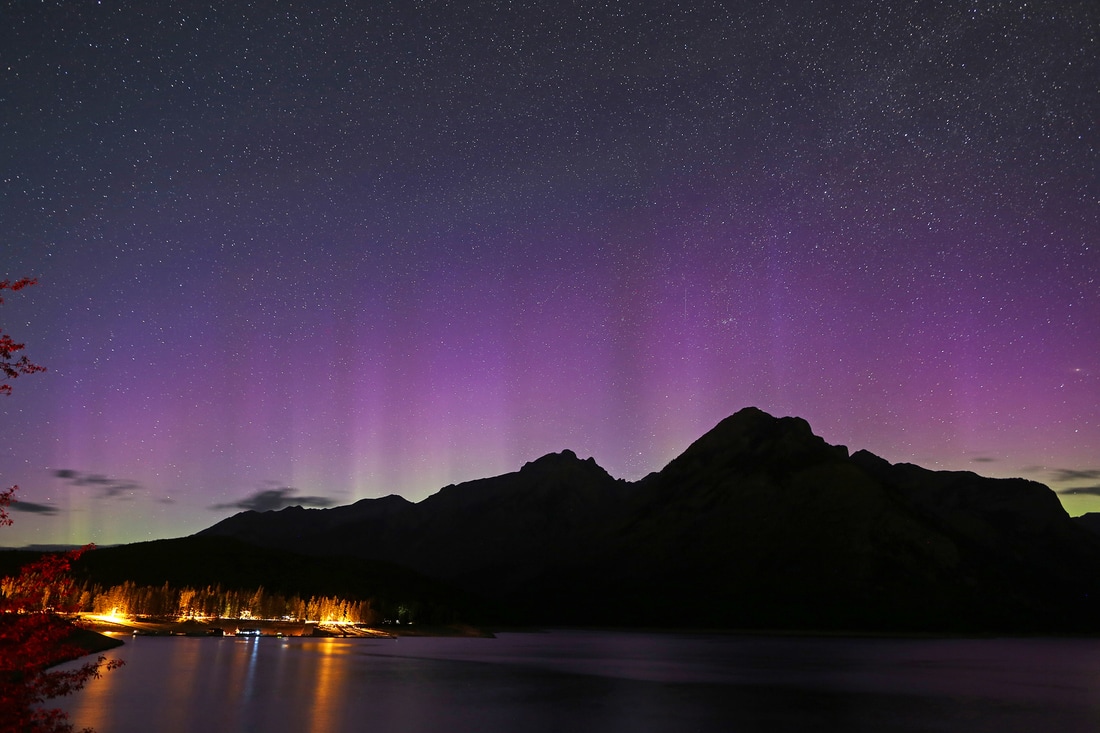
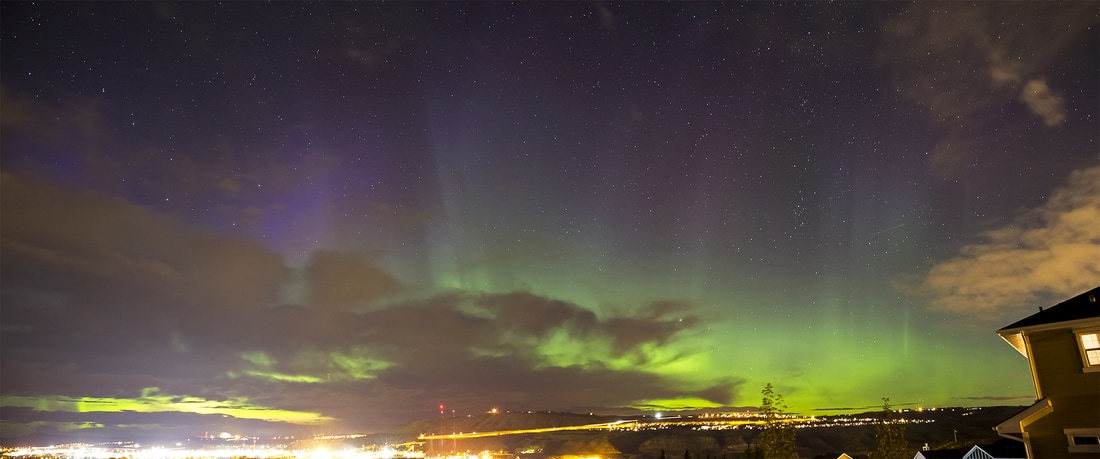
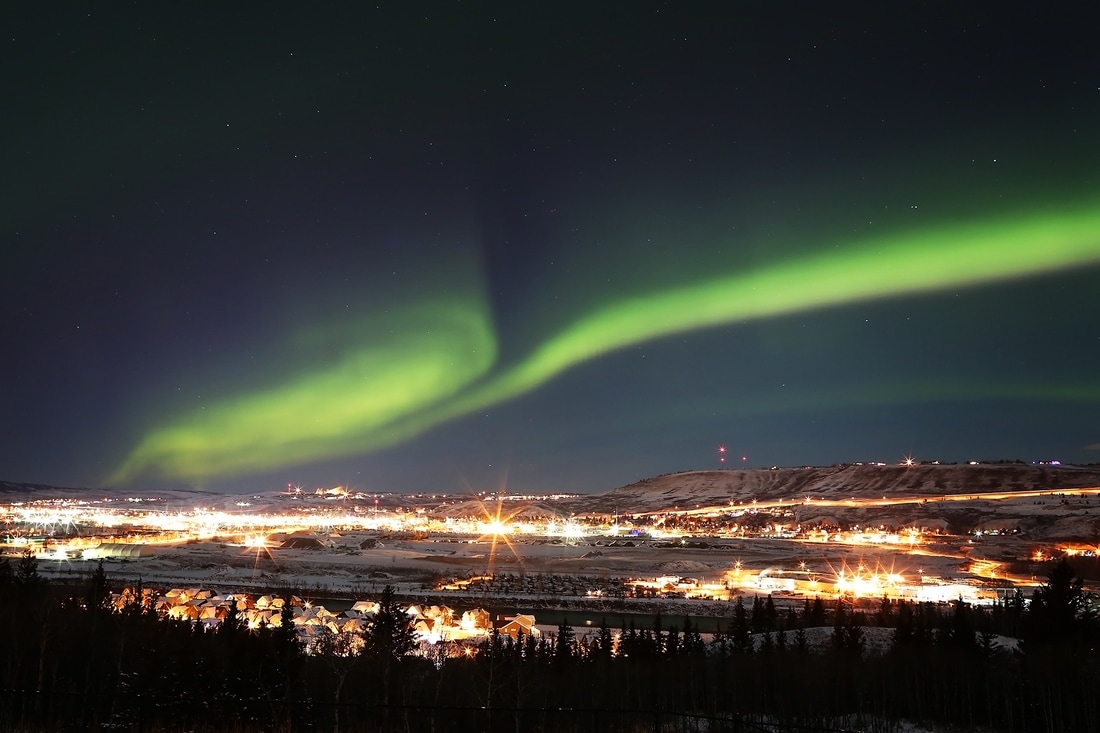
The gallery below gives more examples with camera settings used for each one displayed as a caption (click 1st image to begin gallery view) As you will see there are a number of differing apertures, shutter speeds and ISO's used in these shots yet each one delivers the final product I was seeking at the time.